Defeating your first Terraria boss feels great, right up until you meet the next one and realize your trusty sword isn’t going to be enough. Boss fights become more demanding as you progress, and sometimes the difference between winning and losing comes down to something as simple as having enough room to move.
The good news is that most Terraria bosses become much more manageable once you understand their attacks and prepare accordingly. You don’t always need the strongest weapon available, but knowing when to dodge, where to fight, and which equipment to bring can save you a lot of frustration.
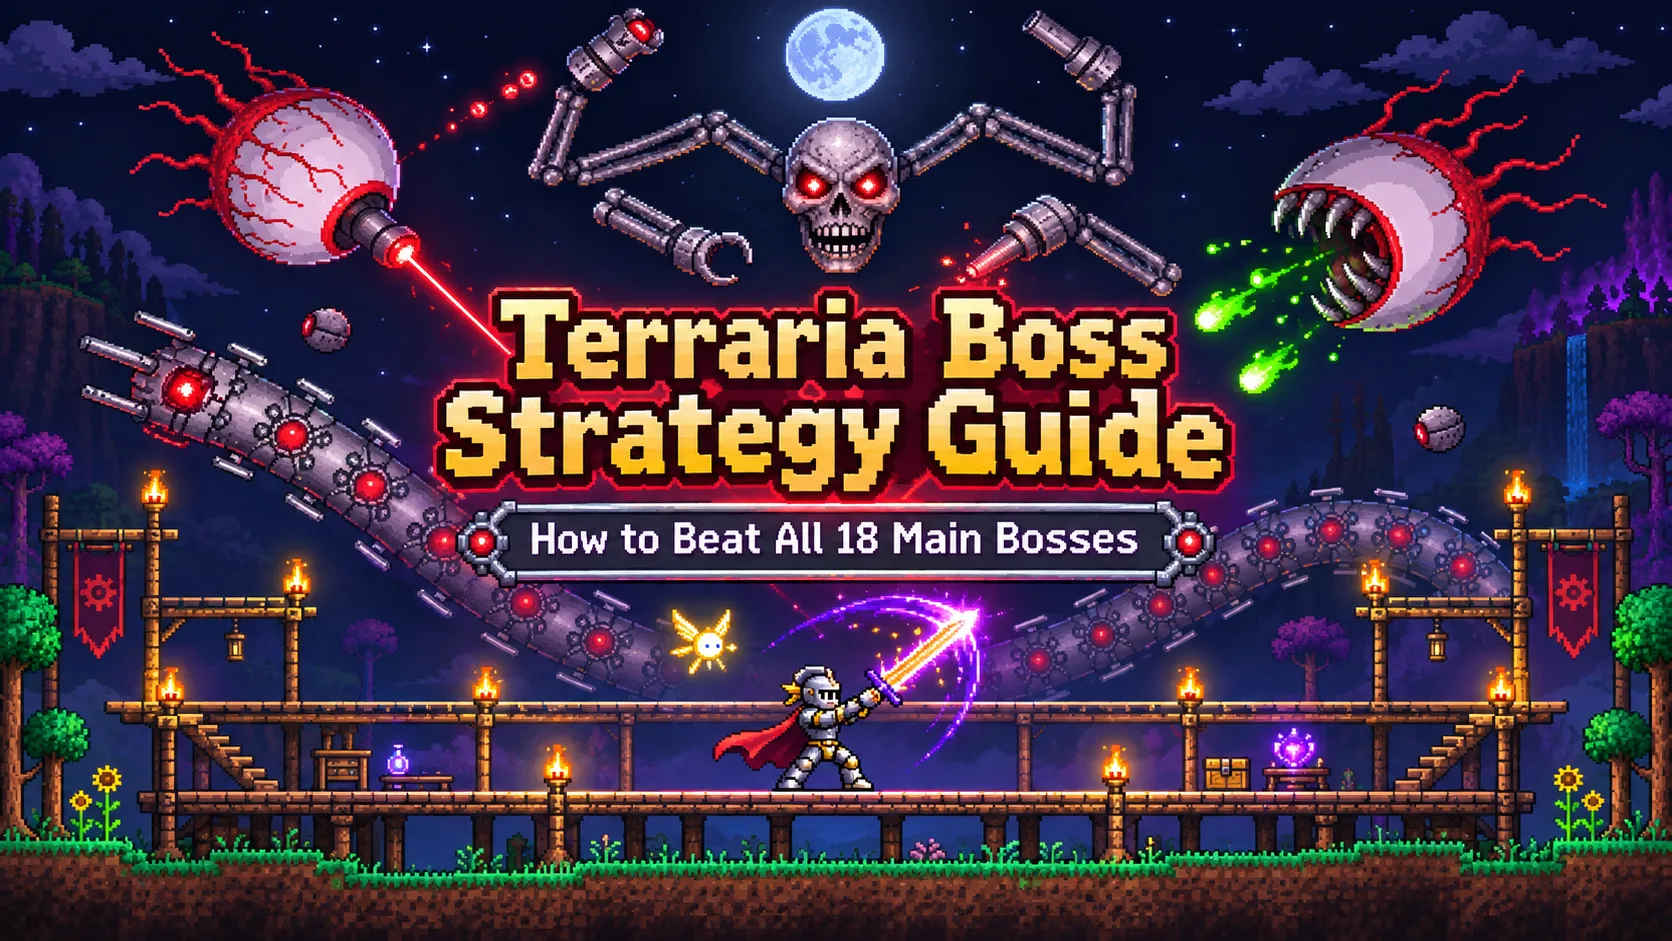
This Terraria boss strategy guide covers all 18 main Pre-Hardmode and Hardmode bosses, including recommended equipment, arena preparation, and practical combat tips. It follows a suggested progression order rather than a mandatory sequence, since several encounters can be tackled whenever you’re ready.
How to Prepare for Boss Fights in Terraria
Before worrying about specific bosses, it’s worth getting a few basics right. Terraria rewards preparation, and fighting in an open area with the right accessories is usually much easier than trying to survive in a cramped cave.
Build a Proper Boss Arena
A simple arena made from two or three rows of wooden platforms is enough for many early encounters. Space the rows far enough apart to jump between them comfortably, and leave plenty of horizontal room for running. Campfires and Heart Lanterns provide health regeneration, while Sunflowers can offer a useful movement-speed bonus in suitable locations.
Not every boss needs the same setup. Flying enemies generally require more vertical space, underground bosses need room carved out around them, and the Wall of Flesh is best fought along a long Underworld bridge. It’s worth adjusting your arena instead of trying to use one design for everything.
Bring Potions and Mobility Accessories
Even basic buffs make a noticeable difference. Ironskin, Regeneration, and Swiftness Potions are useful throughout much of the game, while appropriate food adds another helpful bonus. Later encounters benefit from more specialized buffs, including Endurance, Lifeforce, and class-specific potions.
I’d prioritize movement accessories over small damage increases when learning a new boss. Running boots, double-jump accessories, grappling hooks, and eventually wings make avoiding attacks much easier. A powerful weapon won’t help much if you spend the entire fight getting hit.
Choose Equipment That Matches Your Progression
Terraria has four main combat styles: Melee, Ranged, Magic, and Summoner. You don’t have to commit to one immediately, but matching your armor and accessories to your preferred damage type becomes increasingly important in Hardmode.
| Progression Stage | Useful Armor Options | Example Weapons |
| Early Pre-Hardmode | Gold, Platinum | Gold/Platinum Bow, Starfury |
| After Evil Biome Boss | Shadow, Crimson, Meteor | Minishark, Space Gun |
| Late Pre-Hardmode | Molten, Necro, Jungle, Obsidian | Night’s Edge, Hellwing Bow, Bee’s Knees |
| Early Hardmode | Adamantite, Titanium, Frost | Onyx Blaster, Daedalus Stormbow |
| After Mechanical Bosses | Hallowed, Chlorophyte | Megashark, True Night’s Edge |
| After Plantera | Turtle, Spectre, Shroomite | Terra Blade, Tactical Shotgun |
| Before Moon Lord | Beetle, Spectre, Shroomite, Spooky | Influx Waver, Phantasm, Razorblade Typhoon |
These are examples rather than mandatory loadouts. Some require additional materials, events, or optional encounters, and their effectiveness depends on your chosen class. More importantly, don’t assume an item listed for a later stage will be available before the boss you’re currently fighting.
How to Beat Pre-Hardmode Bosses in Terraria
Pre-Hardmode introduces the basic patterns you’ll rely on throughout Terraria: dodging charges, handling additional enemies, and recognizing when a boss changes its behavior.
There are eight bosses in this stage, although you’ll normally encounter either Eater of Worlds or Brain of Cthulhu depending on your world’s evil biome.
1. How to Beat King Slime
Recommended gear: Gold or Platinum armor, a decent bow or other ranged weapon, and movement accessories.
King Slime is a good first boss because his attacks are relatively straightforward. He jumps toward you, teleports when necessary, and releases smaller slimes as he takes damage. Build a platform arena above the ground and keep moving horizontally while attacking from a distance. His teleportation makes standing still a bad idea, so be ready to change direction whenever he reappears. A bow with suitable arrows works well, and the smaller slimes can sometimes provide hearts when defeated. Don’t worry about rushing the fight; keeping your distance is much more important than dealing maximum damage.
2. How to Beat Eye of Cthulhu
Recommended gear: Gold or Platinum armor, a Gold/Platinum Bow or similar ranged weapon, and running boots.
The Eye of Cthulhu has two main phases. Initially, it flies around while summoning smaller Servants of Cthulhu, but once its health drops sufficiently, it transforms into a more aggressive creature that repeatedly charges at you. A long, flat arena with wooden platforms makes the encounter considerably easier. Run in one direction while firing, then turn around when the boss finishes a charge and creates some distance. Flaming Arrows or Frostburn Arrows are useful early options, especially if you haven’t found stronger weapons yet. The most important thing is to avoid getting trapped against terrain when the second phase begins.
3. How to Beat Eater of Worlds
Recommended gear: Gold/Platinum or suitable Shadow armor pieces, a piercing weapon, and defensive accessories.
The Eater of Worlds is made of many connected segments, which makes piercing weapons particularly effective. A Vilethorn, Ball O’ Hurt, or suitable weapon that can strike several segments at once can deal damage quickly. Prepare an open fighting area in the Corruption, ideally with platforms that let you move above the worm as it travels through the ground. Watch for its head and avoid getting surrounded when the creature splits into smaller worms. In Expert and Master Mode, the segments also fire Vile Spit projectiles, making constant movement even more important. Keeping the fight within the Corruption prevents problems caused by leaving its biome.
4. How to Beat Brain of Cthulhu
Recommended gear: Gold/Platinum armor, weapons effective against groups, and mobility accessories.
The Brain of Cthulhu requires a different approach from the Eater of Worlds. During the first phase, focus on destroying the Creepers surrounding the brain, since the boss itself cannot be damaged until they’re gone. A weapon with a wide attack or piercing effect helps clear them faster, and a roomy arena inside the Crimson underground makes movement easier. Once the Creepers are defeated, the brain starts teleporting and creating illusions. Watch carefully for the real target and keep moving instead of attacking randomly. In higher difficulties, the illusions become harder to distinguish, so concentrating on the boss’s movement is especially useful.
5. How to Beat Queen Bee
Recommended gear: Shadow, Crimson, or comparable armor; ranged weapons; and mobility accessories.
Queen Bee alternates between charging across the screen, hovering while firing stingers, and releasing smaller bees. Expand the Bee Hive before starting the fight, removing obstacles that could trap you during her charges. Platforms across the hive provide room to jump, and ranged weapons make it easier to keep attacking while moving. When she begins charging, move perpendicular to her approach rather than trying to outrun every attack in a straight line. During her hovering attacks, keep changing position to avoid stingers. One common mistake is leaving the Underground Jungle, where Queen Bee becomes enraged and considerably more dangerous.
6. How to Beat Skeletron
Recommended gear: Shadow, Crimson, Meteor, or comparable armor, a reliable ranged or magic weapon, and running boots.
Skeletron’s two hands are a major part of the encounter, so destroying them before concentrating on the head is a sensible approach, particularly in Expert and Master Mode. Build a spacious arena outside the Dungeon entrance and use platforms to move around his spinning attacks. Keep your distance when his head starts rotating aggressively, then attack during safer openings. In Expert and Master Mode, he gains additional projectile attacks that make positioning more demanding. Remember that Skeletron must be summoned at night, and if sunrise arrives before the fight ends, he becomes extremely dangerous. Starting soon after nightfall gives you more time to finish.
7. How to Beat Deerclops
Recommended gear: Shadow, Crimson, or comparable armor, a reliable ranged weapon, and movement accessories.
Deerclops behaves differently from most early Terraria bosses, relying heavily on ground-based attacks and summoned hazards. Avoid standing directly in front of him when he prepares an attack, and watch for ice spikes emerging from the ground. An open area in the Snow biome gives you more freedom to move, but staying too far away can make the encounter awkward because of his unusual damage mechanics. Jumping and moving around the boss helps avoid many of his attacks, although repeated jumping without watching the ground can still get you hit. Deerclops is optional, so there’s nothing wrong with returning later if the fight feels unusually difficult.
8. How to Beat Wall of Flesh
Recommended gear: Molten, Necro, Jungle, or suitable class-specific armor; Hellwing Bow, Beenades, Night’s Edge, or comparable weapons.
The Wall of Flesh is less about dodging around a small arena and more about maintaining enough distance while dealing consistent damage. Prepare a long bridge through the Underworld, clearing buildings and obstacles that could block your movement. Once summoned, the wall moves steadily across the world, forcing you to travel in one direction. Destroying or controlling the Hungry enemies makes it easier to concentrate damage on the eyes and mouth. Piercing weapons and Beenades can be especially effective, while movement-speed buffs help during the final portion when the wall accelerates. Make sure the bridge is long enough before summoning it, because running out of space can end an otherwise successful attempt.
Defeating the Wall of Flesh activates Hardmode, so it’s worth preparing your world and collecting useful equipment before taking the final step.
How to Beat Hardmode Bosses in Terraria
Hardmode introduces significantly stronger enemies, more complicated attack patterns, and a greater need for class-specific equipment. Wings become especially valuable, and learning to use vertical movement is just as important as improving your damage.
The following strategies cover all ten standard Hardmode bosses, including optional encounters such as Duke Fishron and Empress of Light.
9. How to Beat Queen Slime
Recommended gear: Hardmode ore armor, Onyx Blaster, Crystal Serpent, or another suitable early Hardmode weapon, plus wings.
Queen Slime begins with familiar jumping attacks but becomes much more aggressive once she takes enough damage. Her second phase introduces flight, making vertical mobility essential. Fight in a large open area in the Hallow, using multiple platform levels to avoid getting trapped. Deal with the smaller slimes when they become troublesome, but don’t spend so much time clearing them that you lose track of the boss. When Queen Slime starts flying, focus on dodging her projectiles and charges while maintaining a safe distance. Wings and running accessories make the encounter substantially easier.
10. How to Beat The Destroyer
Recommended gear: Adamantite, Titanium, or Frost armor; a piercing or multi-target weapon; and wings.
The Destroyer has an enormous health pool, but its segmented body makes it vulnerable to weapons that hit multiple sections. The Daedalus Stormbow with suitable arrows, Nimbus Rod, and other piercing or area-damage options can work well. Build a raised arena that offers room to move, but don’t rely on standing in one place above the worm. As its segments take damage, Probes are released and begin firing lasers. Deal with these enemies regularly rather than allowing them to fill the screen. In higher difficulties, the Destroyer becomes especially dangerous when its many projectiles overlap, so maintaining mobility matters as much as raw damage output.
11. How to Beat The Twins
Recommended gear: Adamantite, Titanium, or Hallowed armor if available; ranged weapons with strong single-target damage; and wings.
The Twins become much easier to manage when you concentrate on one eye at a time instead of spreading damage between both. Spazmatism is often the better first target because its cursed flames and close-range attacks can become difficult to avoid. Use a long arena with enough vertical space to dodge charges, and keep both eyes in view whenever possible. Retinazer’s laser attacks are generally easier to predict from a distance, while Spazmatism requires more careful movement when it enters its second phase. A Megashark is useful if you’ve already defeated The Destroyer, but other strong ranged weapons work too. Avoid triggering both eyes’ more aggressive phases simultaneously unless you’re confident in your movement.
12. How to Beat Skeletron Prime
Recommended gear: Adamantite, Titanium, or Hallowed armor; a strong ranged weapon; and wings.
Skeletron Prime has four mechanical arms equipped with different weapons, but you only need to destroy the head to defeat him. Removing dangerous arms first can make the encounter safer, particularly the Prime Laser or Prime Vice, depending on which attacks are causing problems. A large platform arena gives you space to avoid his spinning head attack while maintaining consistent damage. Keep moving horizontally and vertically rather than hovering in one position, since several attacks can overlap. Like the other mechanical bosses, Skeletron Prime must be defeated before morning, so start the encounter early in the night and avoid spending too much time on unnecessary targets.
13. How to Beat Plantera
Recommended gear: Hallowed or Chlorophyte armor, Megashark with suitable ammunition, True Night’s Edge, or another strong class-appropriate weapon.
Plantera is much easier to fight after clearing a large arena in the Underground Jungle around the Plantera’s Bulb. Remove blocks that restrict movement, but keep enough surfaces available for grappling and other mobility options. During the first phase, circle around the boss while avoiding its projectiles and contact damage. Once Plantera reaches its second phase, it becomes faster and releases additional tentacles, making a previously comfortable arena feel surprisingly small. High-damage weapons help shorten this stage, but staying mobile is still the priority. Don’t leave the Underground Jungle during the encounter, because Plantera becomes enraged outside its intended biome.
14. How to Beat Golem
Recommended gear: Chlorophyte or Turtle armor, Terra Blade, Megashark, or another suitable post-Plantera weapon.
Golem is fought inside the Jungle Temple, where the available space can be limited. If the chamber is particularly cramped, make the most of the room you have by adding platforms and removing ordinary obstacles where permitted. The boss attacks with its fists, head, and projectiles, so moving around the arena helps prevent repeated hits. Attack the fists when necessary, but remember that the head and body are central to completing the encounter. As the fight progresses, the detached head continues attacking while the body becomes more aggressive. Golem is generally more manageable than Plantera with appropriate equipment, although poor arena positioning can still make the battle troublesome.
15. How to Beat Duke Fishron
Recommended gear: Strong post-mechanical or later Hardmode armor, high single-target damage weapons, wings, and fast movement accessories.
Duke Fishron is one of the toughest optional bosses, largely because of his speed. Build a wide arena over the Ocean with enough vertical space for dodging charges, Sharknados, and other projectiles. During the first two phases, pay attention to his movement rather than constantly chasing him with your attacks. A weapon that deals reliable damage while you move is more useful than one that requires standing still. In Expert and Master Mode, Duke Fishron gains an additional phase involving rapid charges and temporary invisibility. Learning the rhythm of those charges is essential, especially if you attempt the encounter before obtaining late-game equipment. Stay near the Ocean to avoid triggering his enraged behavior.
16. How to Beat Empress of Light
Recommended gear: Strong post-Plantera or later Hardmode armor, high-damage ranged or magic weapons, wings, and mobility accessories.
Empress of Light relies on fast, colorful projectile patterns that can overwhelm players who focus only on attacking. Movement and learning her attack sequence are more important than standing still for extra damage. A large open arena in the Hallow provides room to dodge her sweeping attacks, and fast wings help when projectiles cover multiple parts of the screen. During nighttime fights, players can survive mistakes more easily, making them useful for learning the patterns. The daytime encounter is far less forgiving, with attacks capable of instantly killing players under normal conditions. Defeating her with all damage dealt during the day is also how players obtain the Terraprisma, one of the game’s most desirable summoner weapons.
17. How to Beat Lunatic Cultist
Recommended gear: Beetle, Spectre, Shroomite, or another suitable late-Hardmode armor set; accurate weapons; and wings.
The Lunatic Cultist is relatively small compared with many late-game bosses, which makes accurate, controlled damage particularly important. His magical attacks include projectiles that require different movement patterns, so avoid flying randomly around the arena. During the ritual phase, several copies of the boss appear. Attacking the real Lunatic Cultist interrupts the ritual, while hitting an illusion can summon an additional dangerous enemy. Targeting weapons and careful observation help identify the correct enemy. You can use an arena around the Dungeon entrance, but leaving enough space to dodge is more important than constructing an elaborate platform system.
18. How to Beat Moon Lord
Recommended gear: Beetle, Spectre, Shroomite, or Spooky armor depending on your class; powerful Lunar Event weapons; and strong mobility accessories.
Moon Lord is the final major test of Terraria’s combat mechanics. The encounter involves damaging the eyes in his hands and forehead, then attacking his exposed core after the three eyes have been defeated. A large open arena gives you space to avoid his attacks, particularly the powerful Phantasmal Deathray fired from his forehead. Watch for the eye’s animation and reposition before the beam sweeps across the screen. Wings, fast mounts, healing buffs, and appropriate defensive accessories can all improve your chances. Strong pre-Moon Lord weapons include the Solar Eruption, Daybreak, Vortex Beater, Nebula Blaze, and Stardust Dragon Staff, depending on your class. Focus on surviving each attack pattern rather than trying to finish the fight in one uninterrupted burst.
Best Equipment for Different Terraria Combat Classes
The best boss-fighting equipment changes throughout Terraria, but the four combat styles have different strengths that are worth understanding before committing to a particular build.
| Class | Main Advantage | What to Prioritize |
| Melee | Higher defense and strong close-range or projectile-based weapons | Defense, damage, mobility |
| Ranged | Consistent damage from a safer distance | Ammunition, critical chance, positioning |
| Mage | Powerful attacks and varied damage patterns | Mana management, magic damage, mobility |
| Summoner | Minions can attack while you concentrate on movement | Minion slots, summon damage, survival |
Melee players often have more room for error thanks to stronger defensive armor, although some weapons require getting dangerously close to bosses. Ranged builds are particularly beginner-friendly when learning attack patterns, while mages can deal excellent damage if they manage their mana effectively. Summoners benefit from being able to concentrate on dodging while minions attack, but their lower defense can make mistakes expensive.
I wouldn’t worry too much about finding the single strongest class for every encounter. Terraria gives you enough flexibility to experiment, and switching weapons or accessories can sometimes solve a difficult fight more effectively than repeatedly attempting it with the same setup.
Terraria Boss Tips for Expert and Master Mode
Expert and Master Mode make bosses significantly more dangerous, with higher enemy stats and, in many encounters, additional mechanics. Expert Mode also introduces unique boss rewards through Treasure Bags, while Master Mode adds exclusive collectibles and other rewards.
The biggest adjustment is learning to avoid damage consistently rather than relying on healing potions. Movement accessories become especially important, and defensive buffs can make mistakes less punishing. Some bosses also have additional phases or altered attacks, including Eye of Cthulhu and Duke Fishron.
If you’re struggling, try practicing an encounter on a lower difficulty or improving your arena before changing your entire equipment setup. Knowing when an attack is coming is often worth more than a small increase in damage.
Common Mistakes When Fighting Terraria Bosses
A surprising number of failed boss attempts come from preparation rather than lack of combat skill. Players sometimes summon a boss without enough space, forget their buffs, or enter a fight with equipment that doesn’t match their current progression.
One particularly common mistake is ignoring biome and time restrictions. Queen Bee and Plantera become enraged outside their intended biomes, while several nighttime bosses become much more dangerous or disappear when morning arrives. Another is attacking every enemy on the screen without paying attention to the main boss’s phases.
Finally, don’t underestimate the value of stepping away and upgrading your equipment. If a boss repeatedly defeats you within seconds, there’s usually a practical reason. Better mobility, a more suitable weapon, or a properly prepared arena can completely change the encounter.
Which Terraria Boss Should You Fight First?
For most beginners, King Slime or Eye of Cthulhu is a sensible starting point. Both introduce important boss-fighting mechanics without requiring advanced equipment, and their encounters help prepare you for more demanding fights.
From there, you can move toward your world’s Corruption or Crimson boss, explore optional encounters such as Queen Bee, and eventually challenge Wall of Flesh to unlock Hardmode. The mechanical bosses then become the next major obstacle, followed by Plantera, Golem, Lunatic Cultist, and Moon Lord.
Terraria gives you plenty of room to experiment, so don’t treat any recommended boss order as an unbreakable rule. Understanding the attacks, preparing the right equipment, and knowing when to return later are all part of becoming better at the game.

I’m Alex Mercer, a gaming writer at GamingIMBA, covering video games, esports, and industry news. My work spans game guides, competitive gaming, indie titles, and major updates, with a focus on explaining mechanics, trends, and developments that matter to players. I aim to make every article clear, accurate, and genuinely useful.